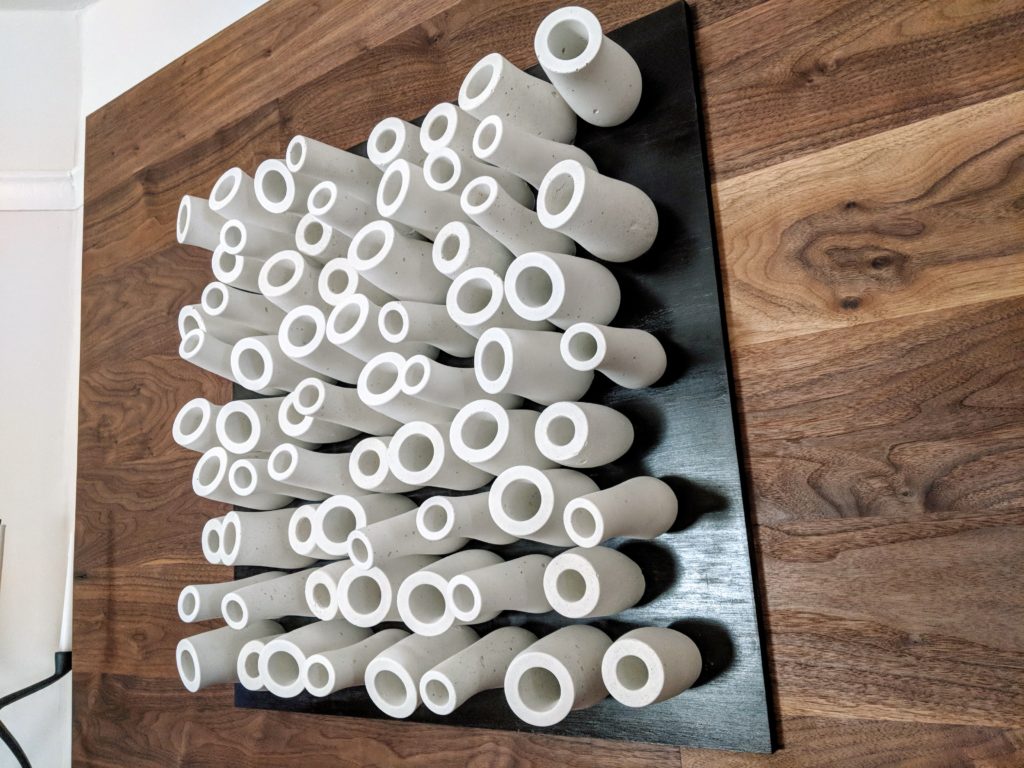
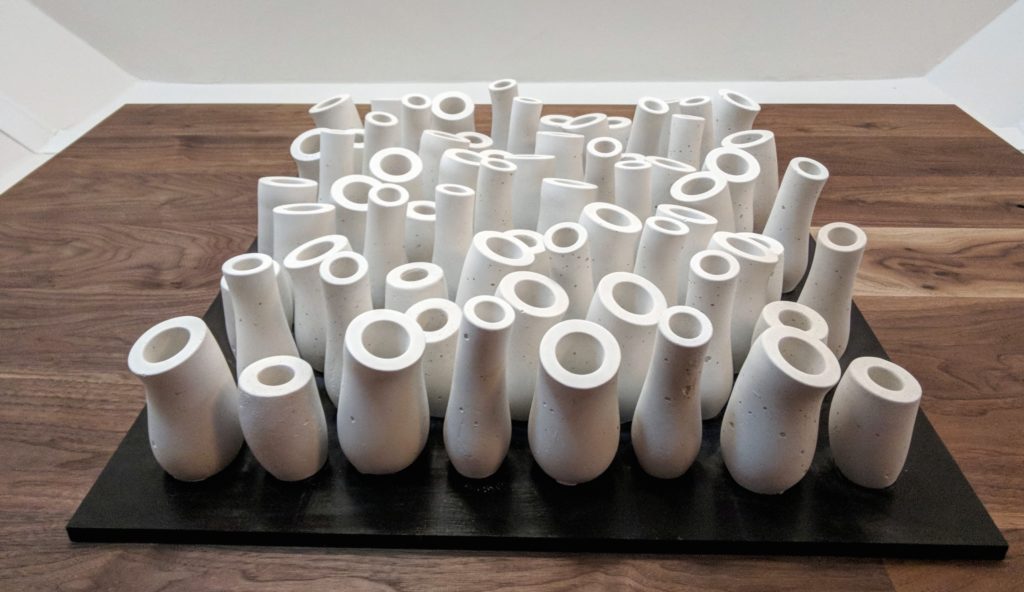
Final. Framed and mounted above fireplace.Closeup. This piece looks most interesting from sharp angles.Underneath.
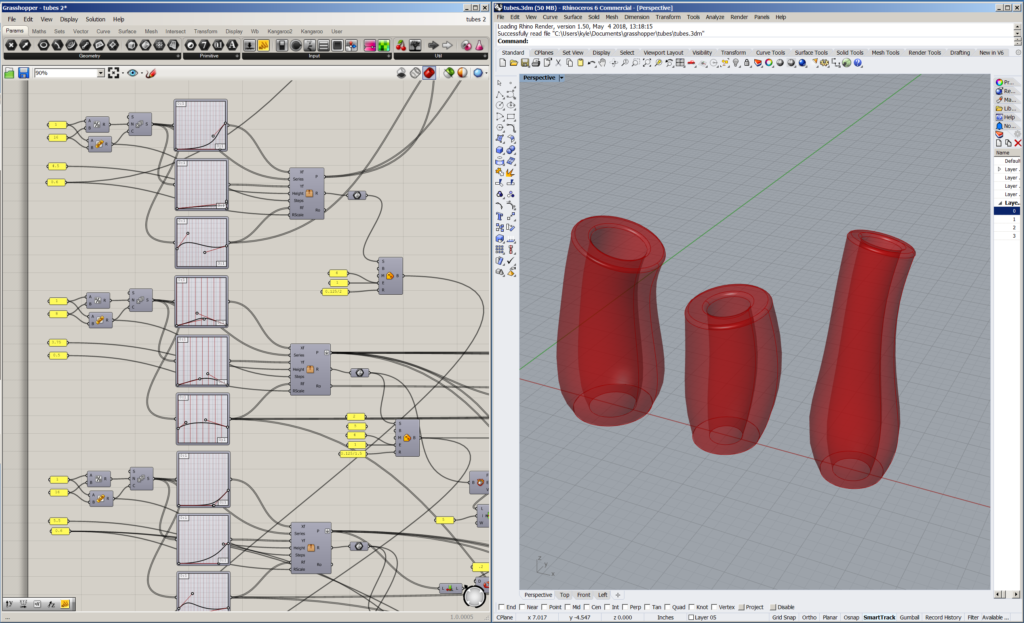
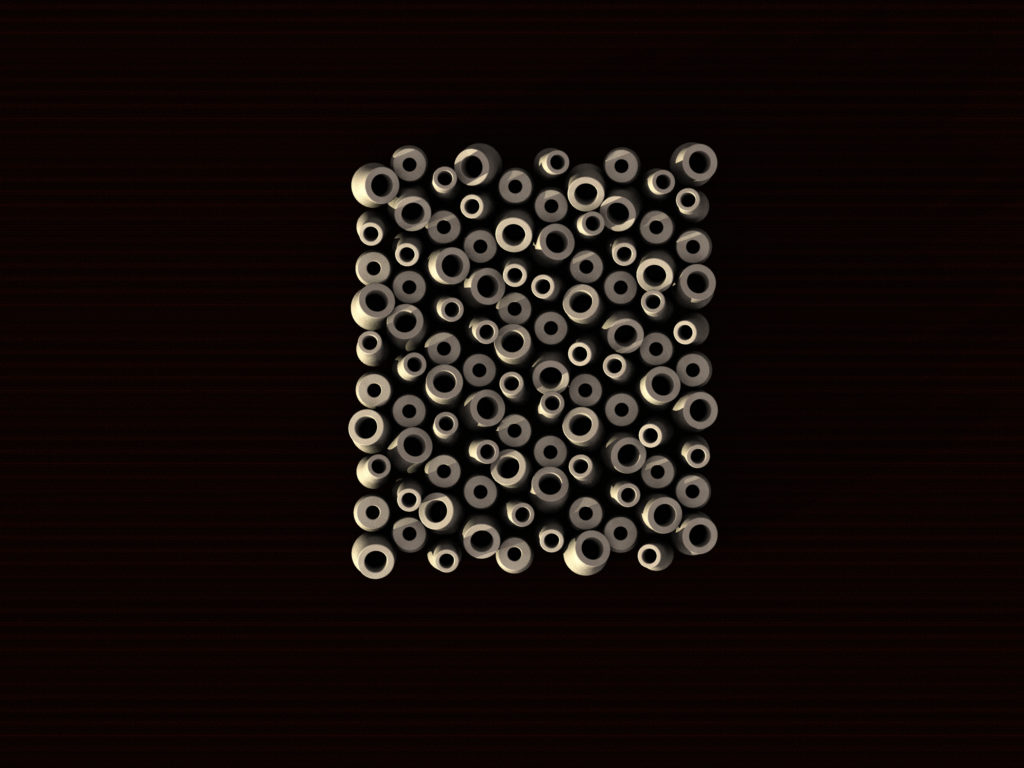
Build process: Modeling.
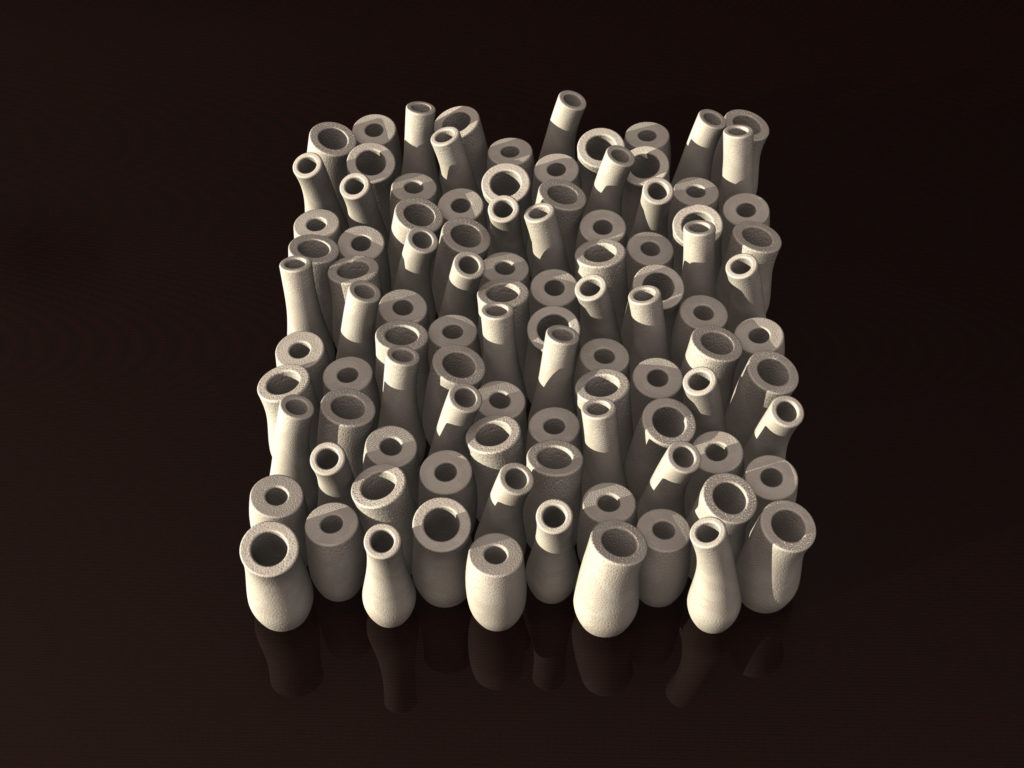
Modeled 3 different tube shapes using Grasshopper in Rhino3D.This will be a wall hanging, so this is the head-on rendering.An angle view.Another angle view.
Build process: Silicone molds.
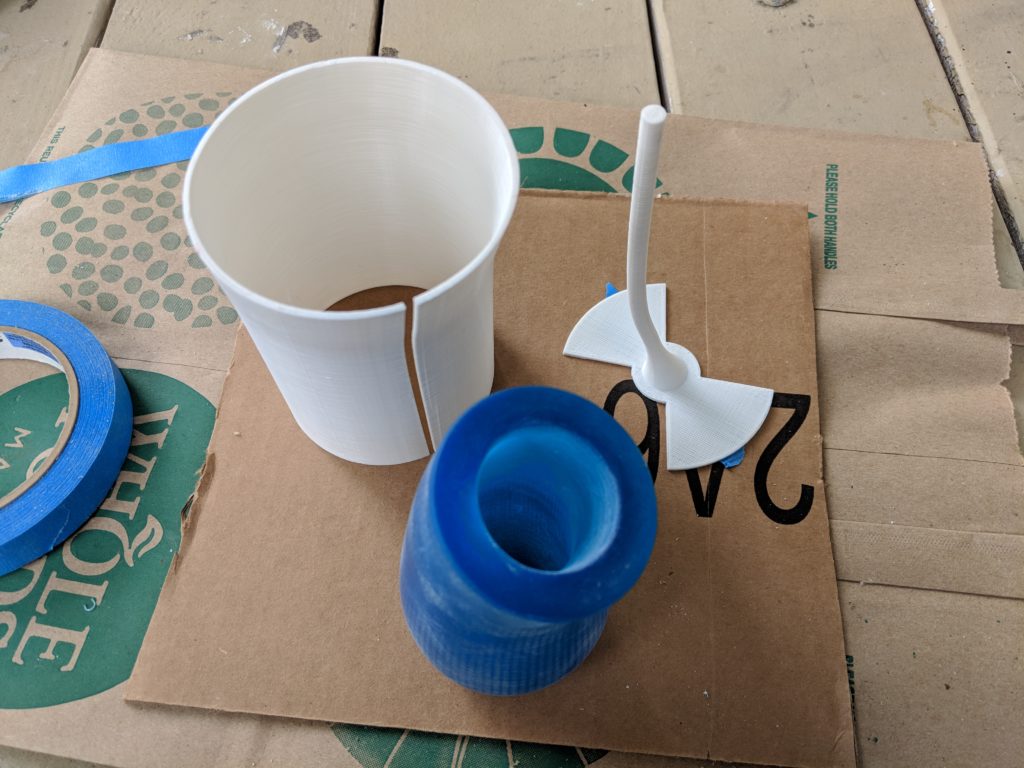
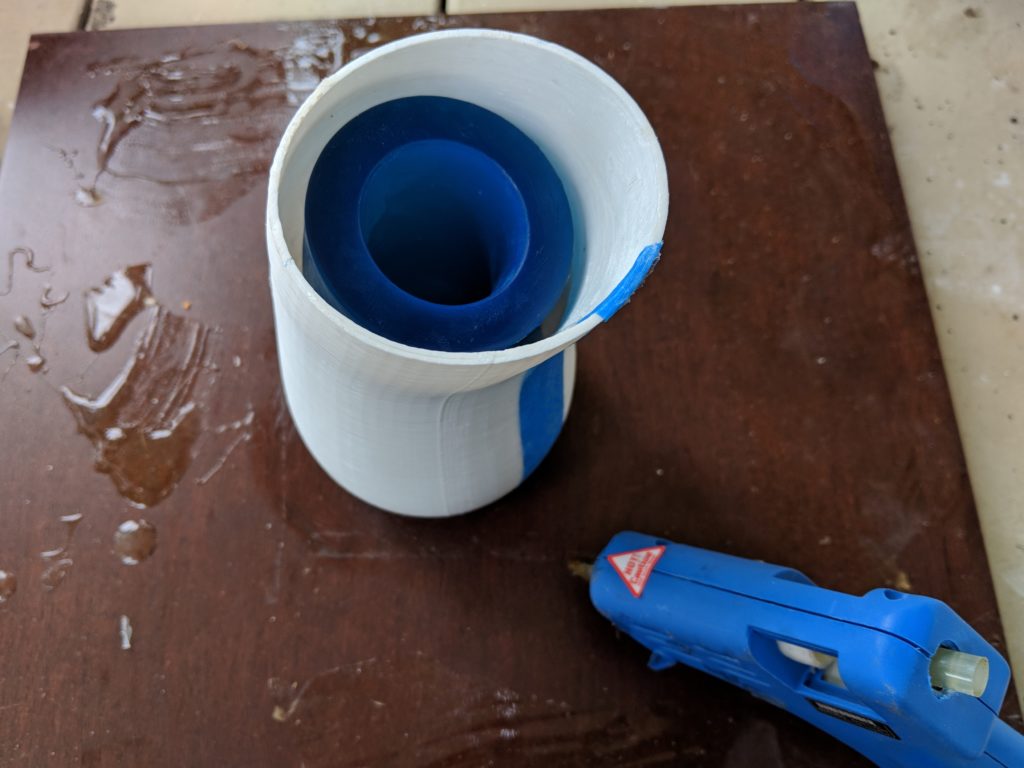
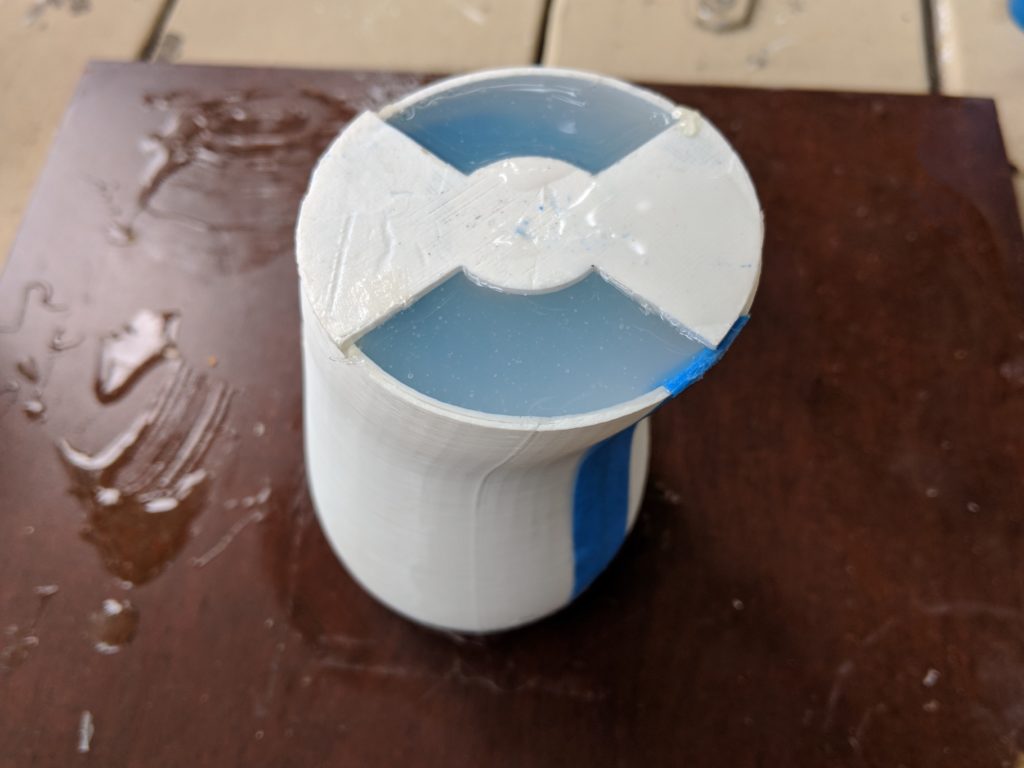
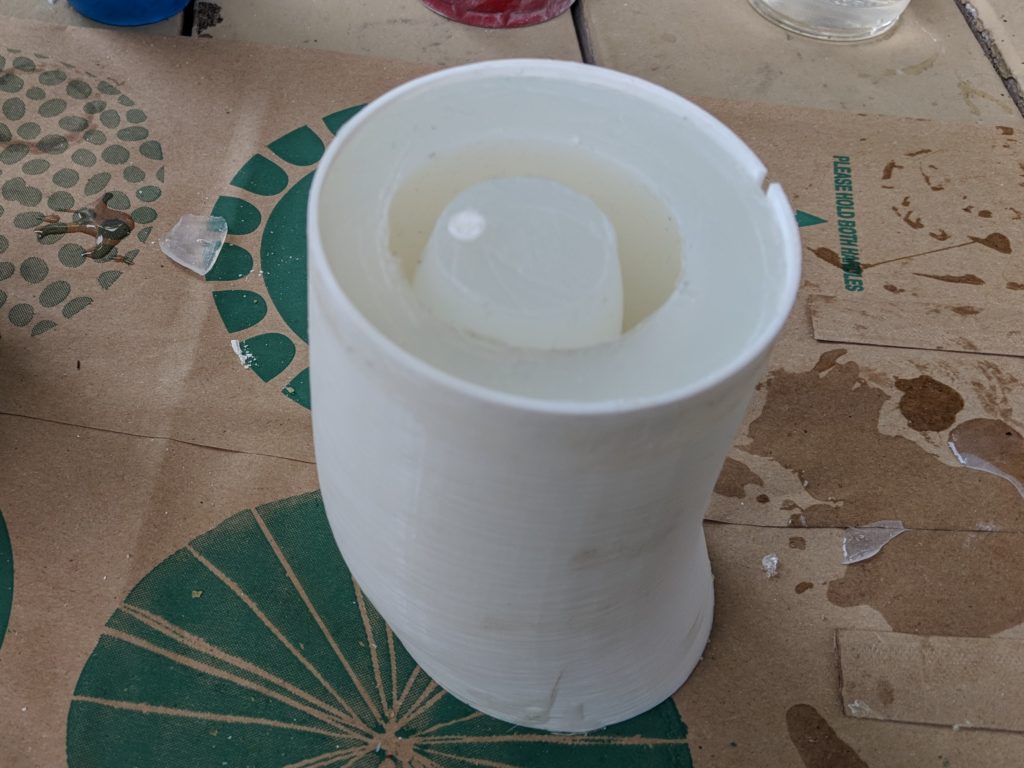
Positives printed on Formlabs SLA printer.For each part, I 3d printed a casting sleeve and interior structural support.Hot glue was used to seal the sleeve seam and attach the sleeve to a smooth surface — hot glue seals well and is easy to remove. The sleeve and model positive were coated lightly with Vaseline.Since the models have some deep undercuts, I cast with a high grade silicone resin (Tap Plastics Platinum Silicone Resin). This is a soft and tear-resistant resin.
Build process: Concrete.
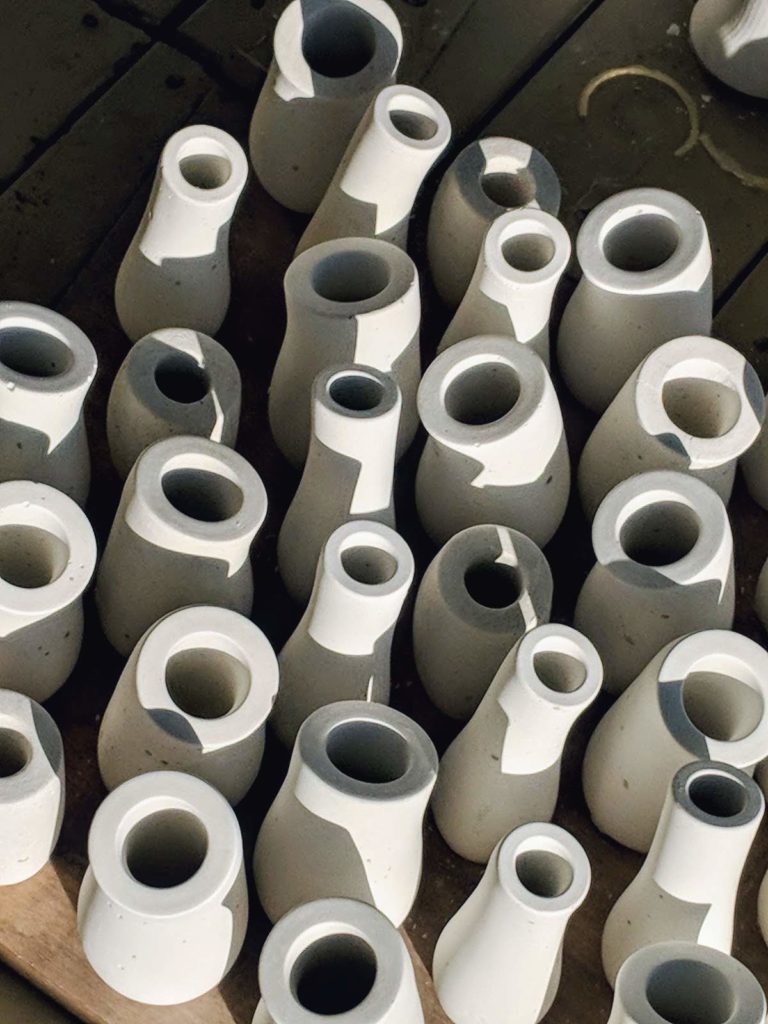
I reused the sleeves and insert to improve stability when casting concrete.I used Buddy Rhodes counter top grade concrete mix with a generous amount of Owens Corning reinforcement fibers. I typically mixed concrete for 6 molds at one time, making the mixture wet enough to flow. After fully mixed, I moved the mixture to a large plastic Ziploc bag, cut one corner, and piped into molds.
Build process: Mounting and framing.
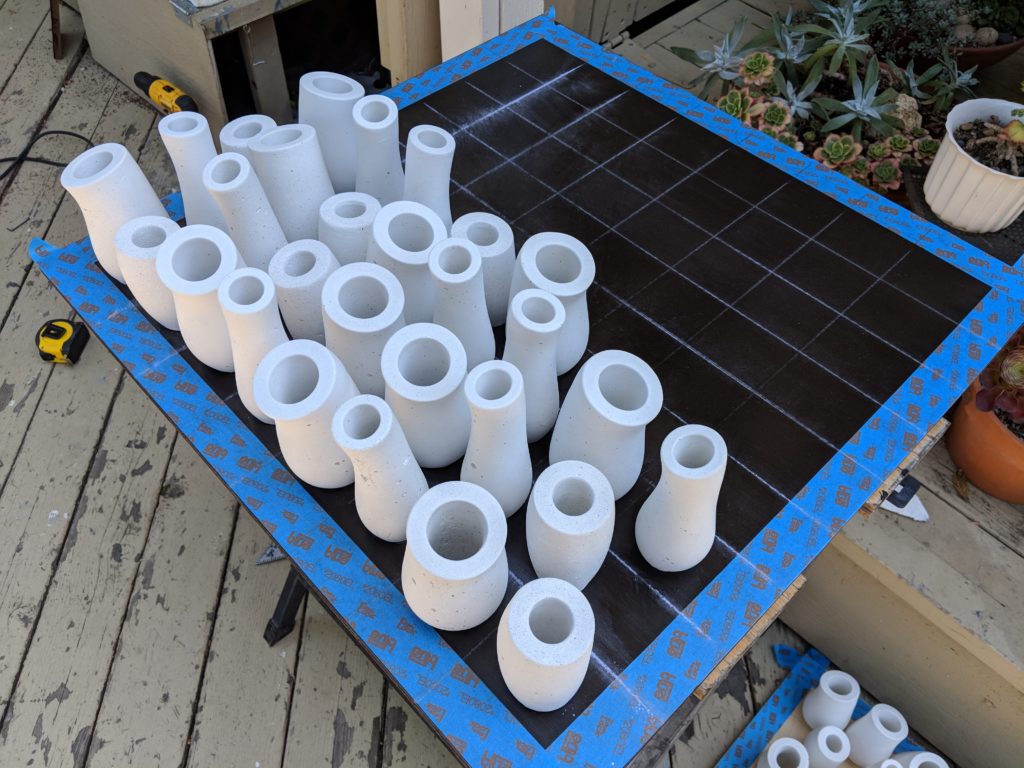
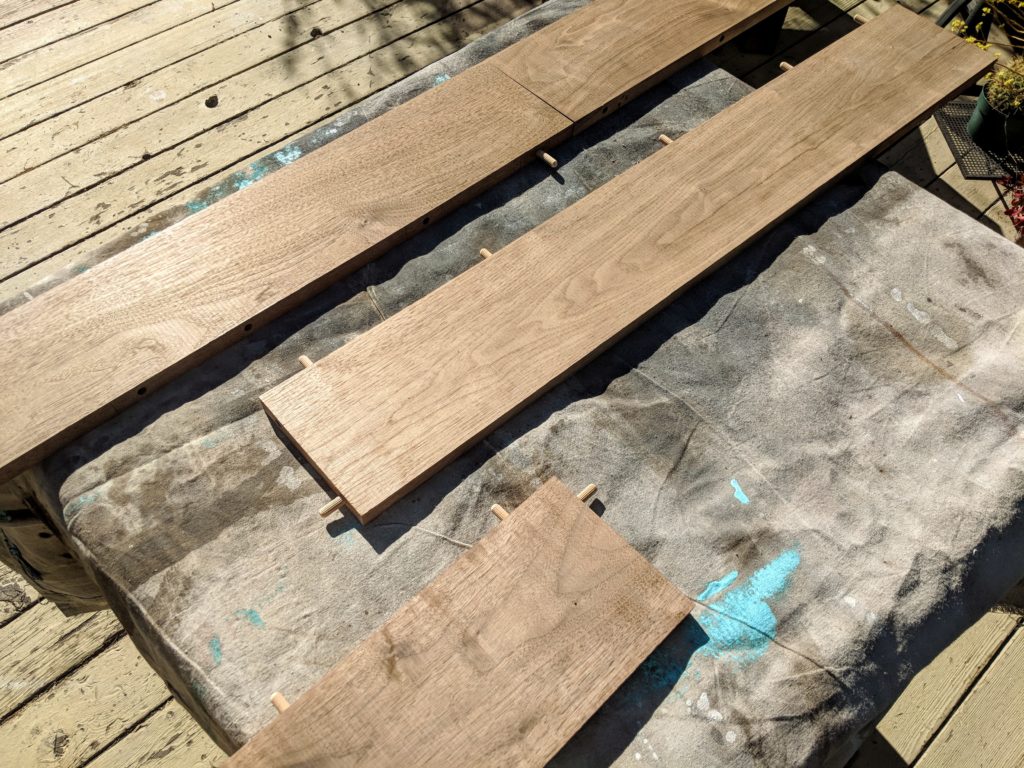
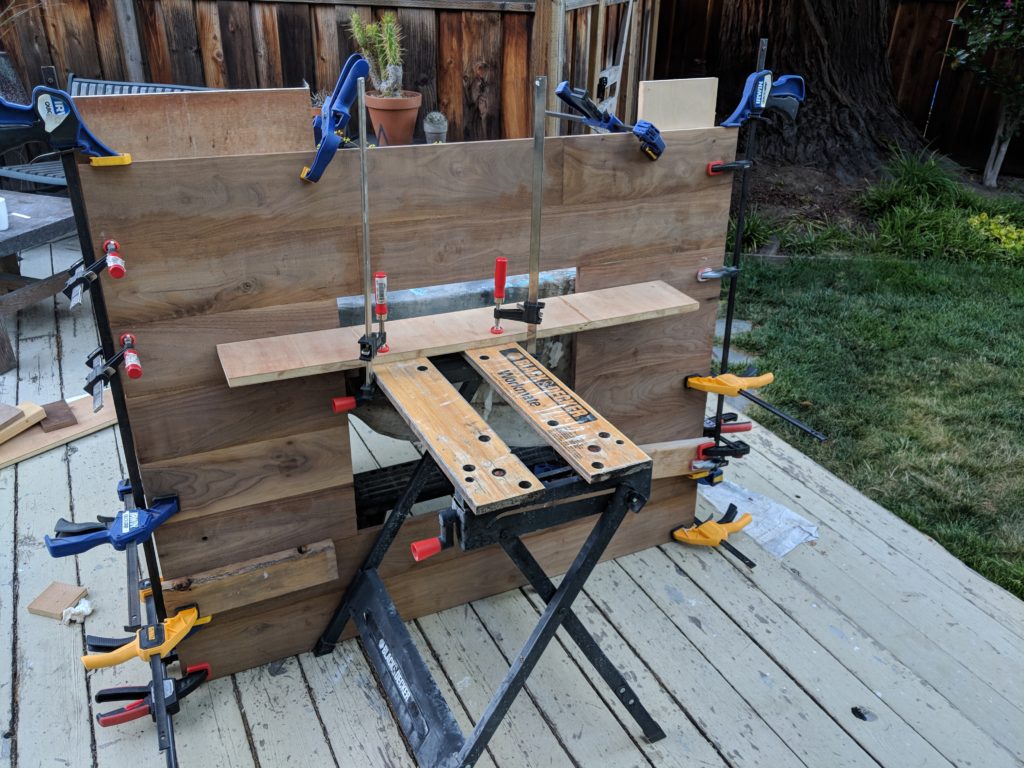
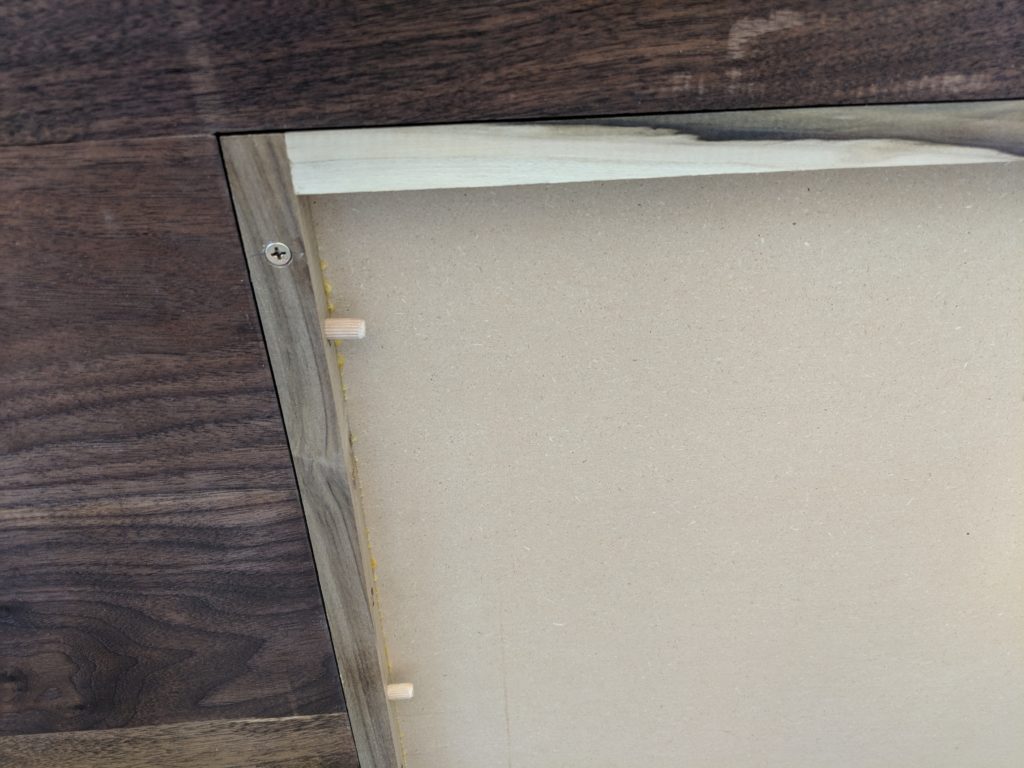
After pouring about 60 parts, I stained a 24″ x 24″ plywood board. I marked the layout grid with chalk, and attached each part with epoxy.I made a roughly 5′ x 5′ “frame out of 5.5” walnut boards, using dowel joinery.You can never have enough clamps.Photo of back of joined main piece and frame. They are attached with 20 dowels (photo is from a test, some only a couple of dowels are inserted).